Tips and Inspiration
From Unilever Beauty Experts
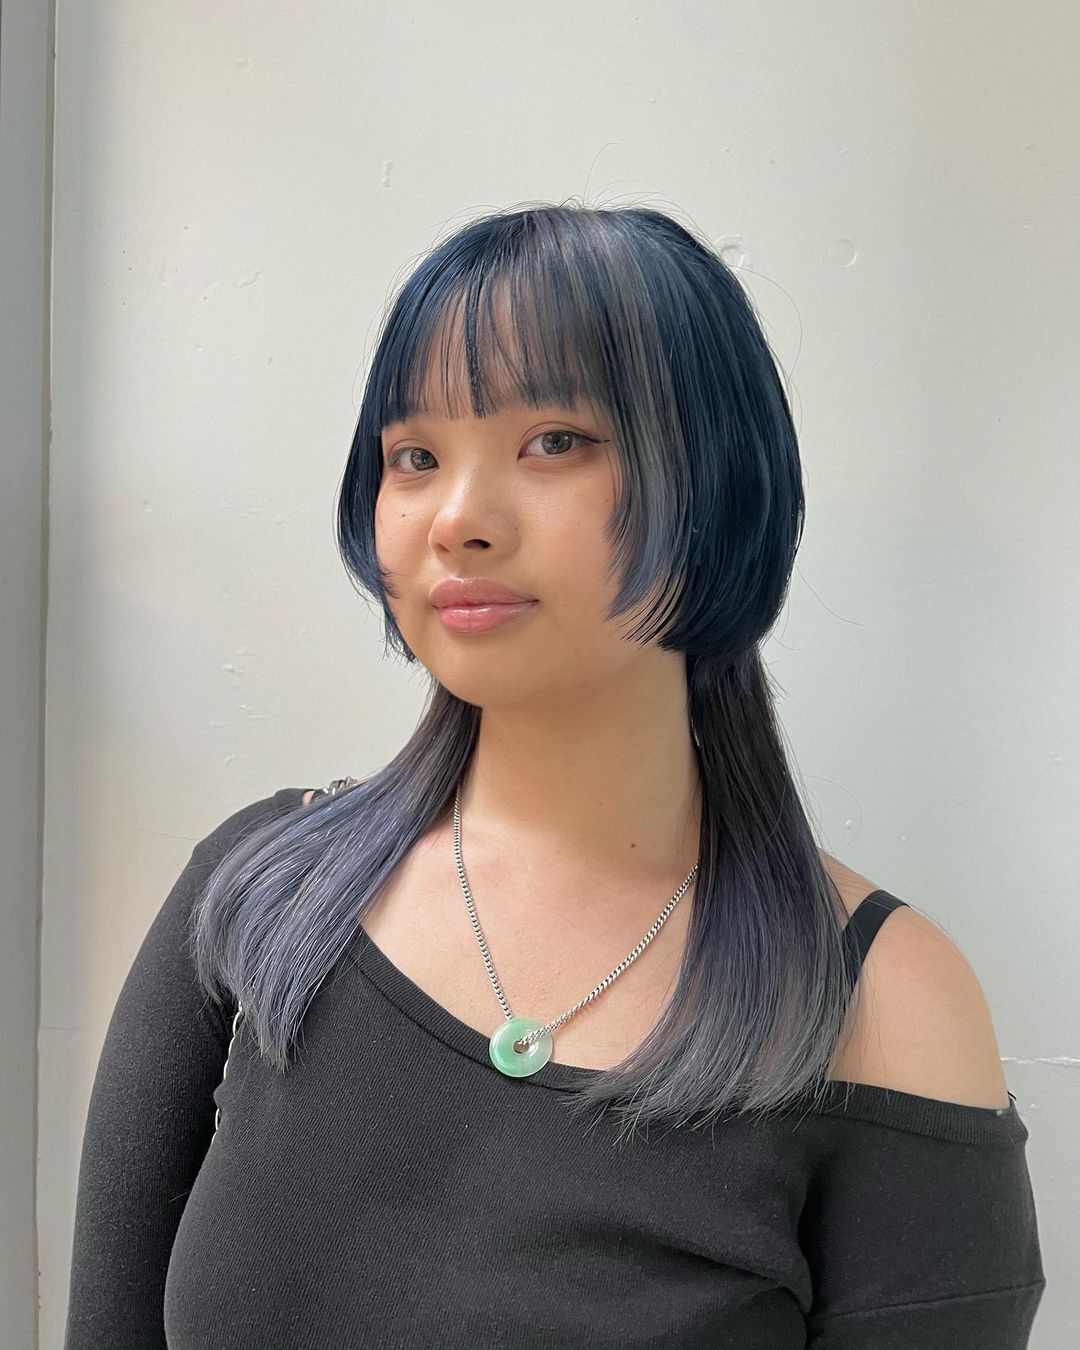

You’ve heard of the wolf cut and butterfly style. Now there’s a new animal-inspired ‘do making rounds on social media: the jellyfish haircut. (Image: Instagram.com/hatahata5963)
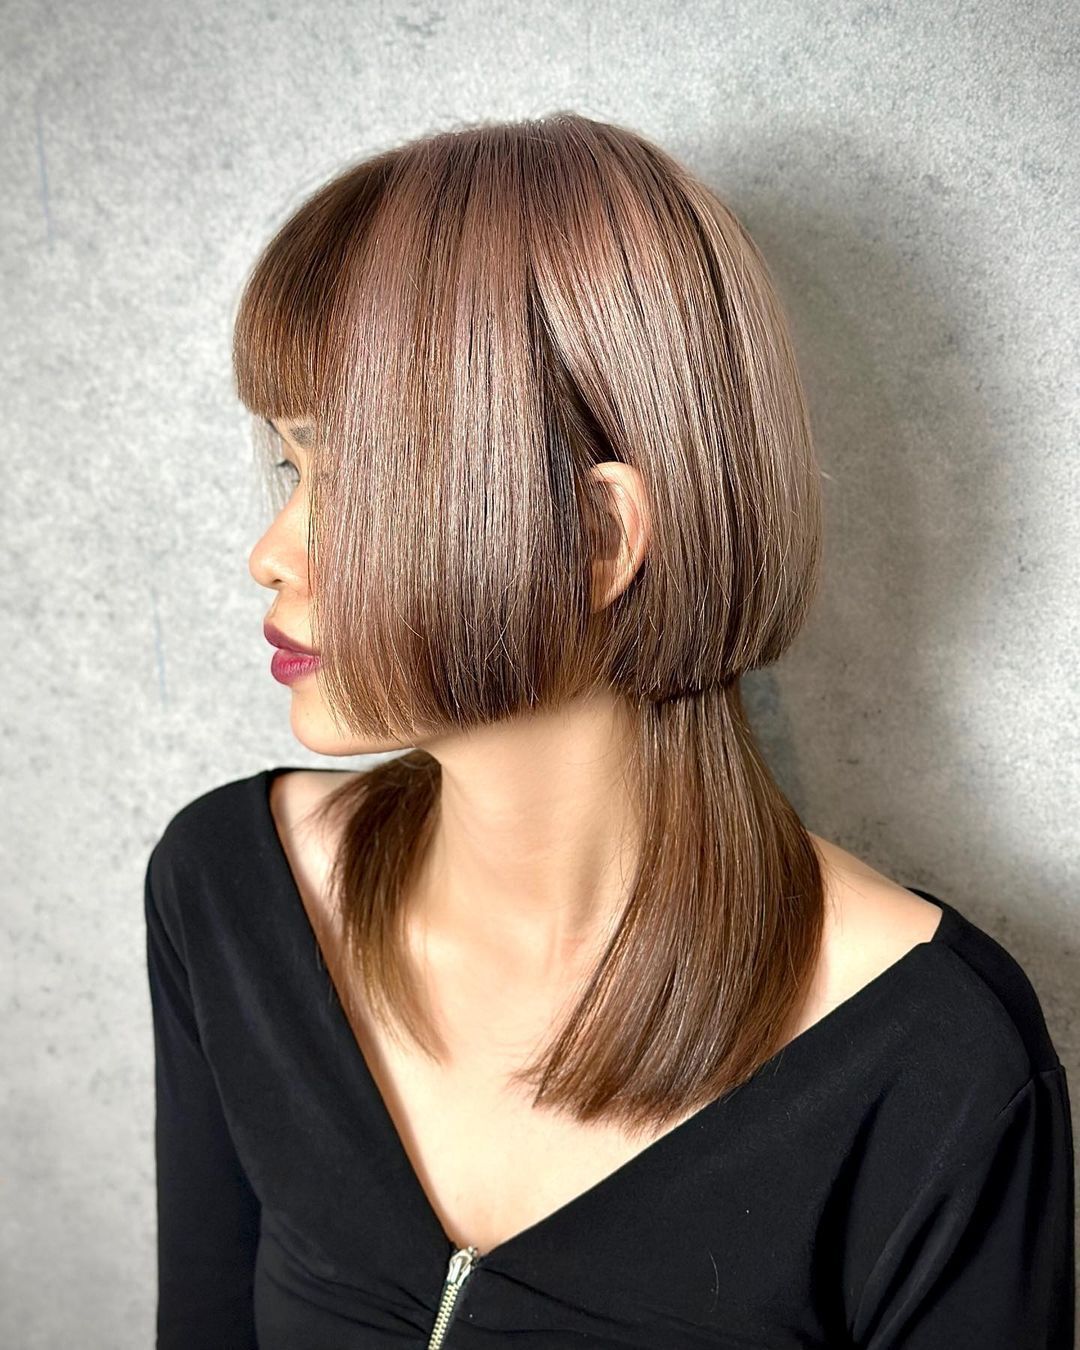
What Is a Jellyfish Haircut?
First popularized on TikTok, the style’s disconnected layers resemble a mullet, a bowl cut, and a hime cut in one. Safe to say, it’s not for the faint-hearted. If you’re not one to shy away from the extraordinary, the payoff is definitely worth the risk.
What is the difference between a jellyfish and octopus haircut?
The octopus hairstyle is a combination of a shag and a mullet. It's more unkempt and rebellious. While the jellyfish hairstyle has neatly disconnected layers, the octopus cut can be textured and choppy.
When it comes to styling the jellyfish haircut, the world is your oyster. You can dye, perm, braid, or straighten it – whatever floats your boat. But in case you want to keep it fresh without exerting too much effort, we’ve got you covered. This handy guide will help you maintain your jellyfish haircut at home.
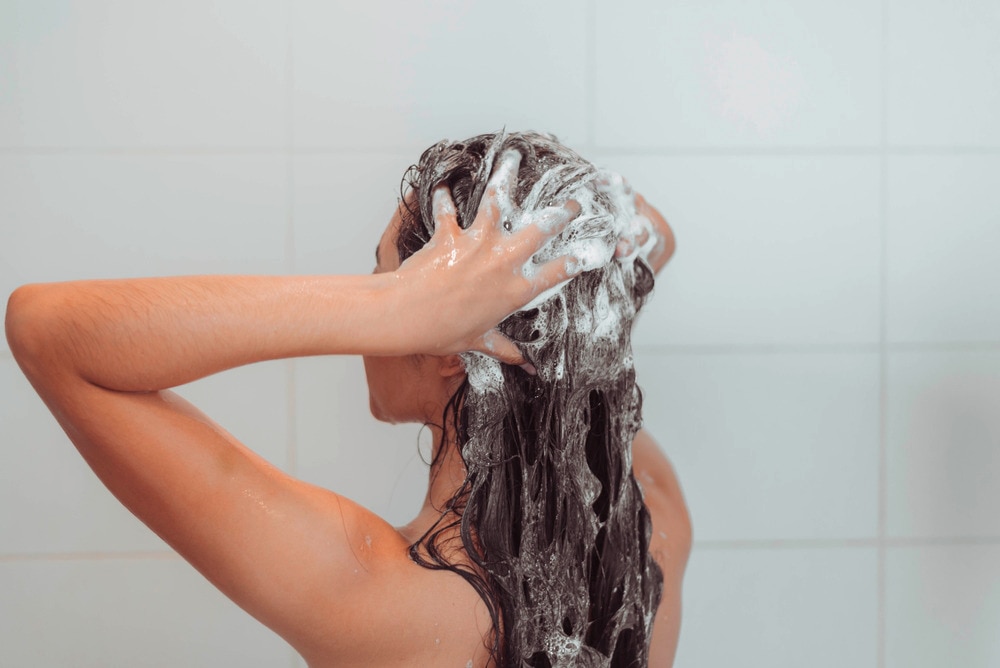
Don’t shampoo your hair too often as it can dry your scalp, which may trigger an overproduction of oil..
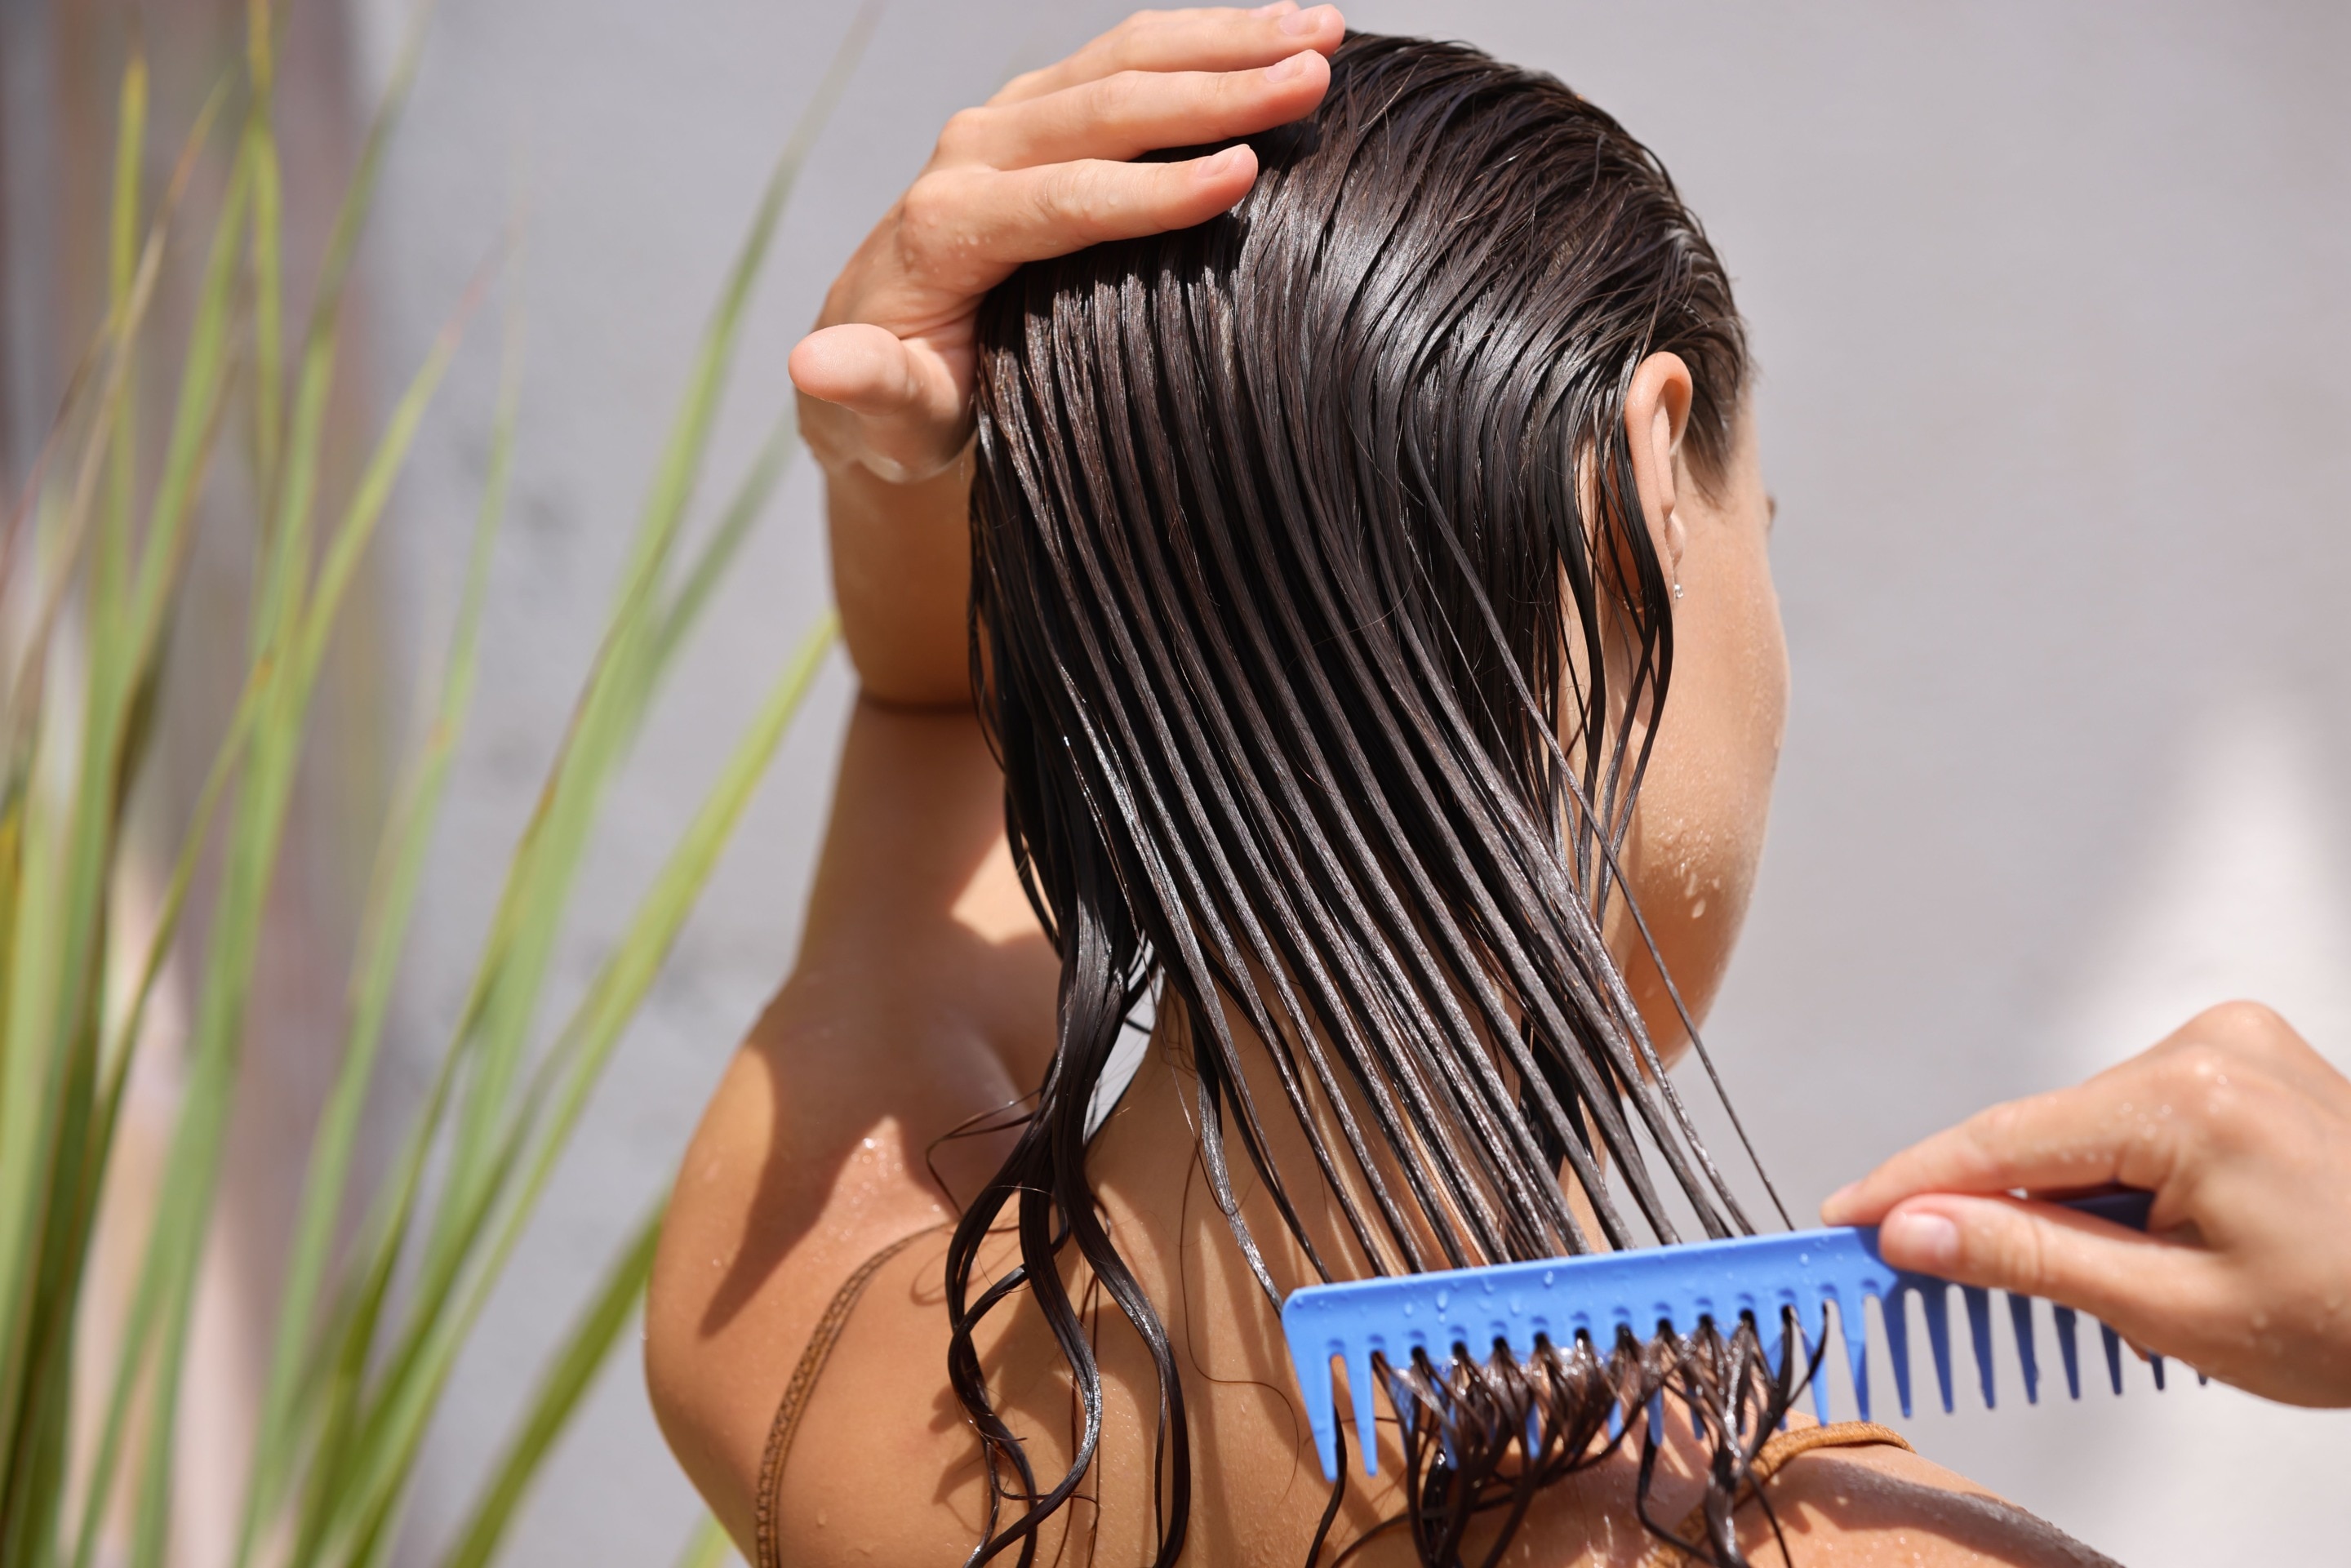
Use a wide-toothed comb to distribute the conditioner evenly through your strands..
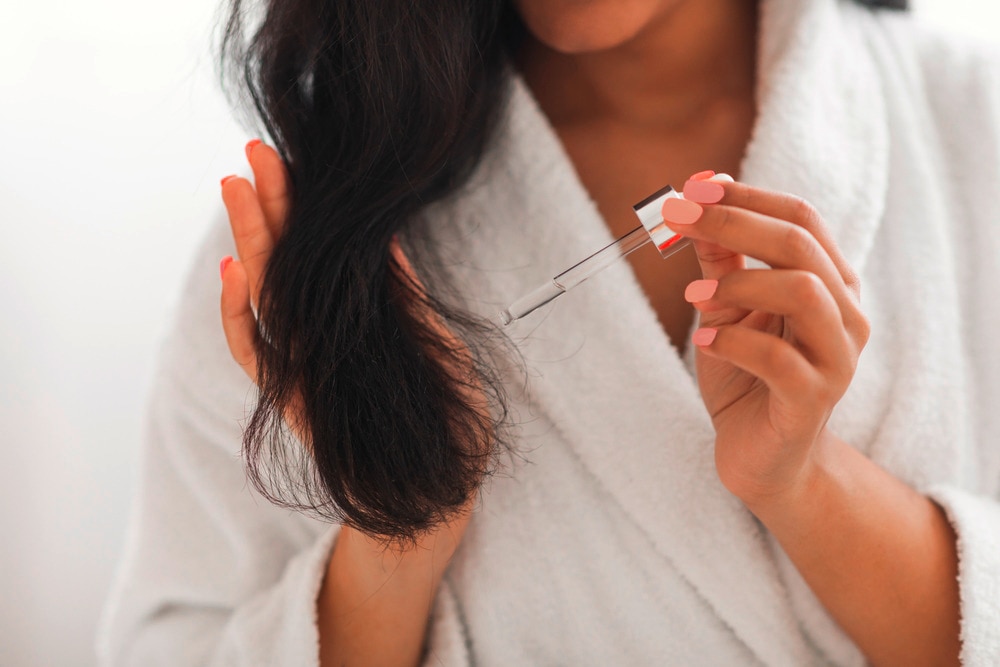
Hair serum can help protect your jellyfish haircut in humid weather..

Flipping your hair upside down while drying can boost volume..
Make sure to keep your flat iron moving to avoid creating an awkward bump on your jellyfish haircut. (Instagram.com/vinhhairstudio_vadl).

Try a Harajuku-inspired style by flipping the ends of your jellyfish haircut. (Instagram.com/skipdoeshair).